Right click the yellow star in the URL bar (RHS) or a blank area to the right of your last open tab and check the following options.

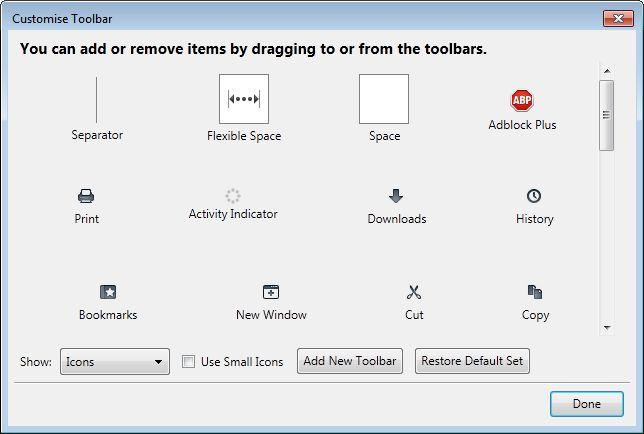
To remove an item from any toolbar, drag it into the “Customise Toolbar” box shown above which is a kind of icon repository.
N.B If you have a large number of items in your “Bookmark Toolbar Items”, this will shrink your URL and Search boxes and make them too small to use. If this happens, you can either edit the names by navigating to “Show all Bookmarks” (Ctrl + Shift + B) and make them shorter or better still, remove the names altogether as shown below if the icon will be unmistakable in the toolbar like the ones shown below.
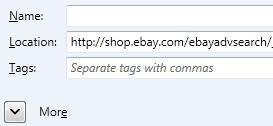
The result looks like this.

Failing that, right click the yellow star in the URL bar again and customise the toolbars by turning on the “Bookmarks Toolbar”. This will display a second bar under the Navigation Toolbar which will now be blank. Choose 'Customise...' again and drag your “Bookmark Toolbar Items” back to this blank toolbar. Remember though, this kind of defeats the purpose so it's best to only store your most frequent items in the “Bookmark Toolbar Items” location if you really want to maximise space and leave it inside the Navigation Toolbar.
If you want even more space, turn off the "Add-on Bar" which is the one at the bottom of the page but remember this is where allot of add-ons put their icons so it is quite valuable.
Good Luck!
- Navigation Toolbar
- Add-on Bar
- Tabs on Top
- Navigation arrows (back/forward)
- Homepage button
- “Stop loading page” icon
- URL bar
- Bookmark Toolbar Items
- Search box
- Any other items you need on top like icons for Add-ons (Webmail notifier, Adblock etc)
To remove an item from any toolbar, drag it into the “Customise Toolbar” box shown above which is a kind of icon repository.
N.B If you have a large number of items in your “Bookmark Toolbar Items”, this will shrink your URL and Search boxes and make them too small to use. If this happens, you can either edit the names by navigating to “Show all Bookmarks” (Ctrl + Shift + B) and make them shorter or better still, remove the names altogether as shown below if the icon will be unmistakable in the toolbar like the ones shown below.
The result looks like this.
Failing that, right click the yellow star in the URL bar again and customise the toolbars by turning on the “Bookmarks Toolbar”. This will display a second bar under the Navigation Toolbar which will now be blank. Choose 'Customise...' again and drag your “Bookmark Toolbar Items” back to this blank toolbar. Remember though, this kind of defeats the purpose so it's best to only store your most frequent items in the “Bookmark Toolbar Items” location if you really want to maximise space and leave it inside the Navigation Toolbar.
If you want even more space, turn off the "Add-on Bar" which is the one at the bottom of the page but remember this is where allot of add-ons put their icons so it is quite valuable.
Good Luck!
Comments
Post a Comment